ABOUT “THE CYCLING SANDWICH”
“The Cycling Sandwich” is a company idea I designed, that delivers sandwiches to the people of New Zealand with the transport of bicycle delivery.
First the consumer makes their order on an online site that lets you choose from options such as, bread, fillings, sauce etc. The user inserts their current location address, before a worker delivers the freshly company made sandwich to the buyers doorstep.
The materials used to create the sandwich packaging itself is constructed from thin plastic, paper, and eco friendly card that is completely recyclable. Hence the name the “Cycling” sandwich, as the user is “reCYCLING”. Also, the fact that the deliverer is “Cycling” to the buyer. The benefits of delivering the sandwiches by bicycle is an step towards reducing the nations carbon footprint.
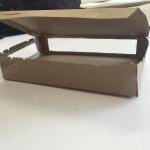
The option of selecting the insides online gives the user a wide range of variety. The sauce comes in a separate mini bottle to apply once receiving the sandwich, to reduce the sogginess of the bread on its journey to the buyer. The style of the box opens up so the consumer can easily reach inside and eat out of the box, catching all crumbs and spills. This is convenient for people who are eating their meal in environments where they want to create minimal mess, this is also useful for quick and easy cleanup. The flat bottom provides a perfect surface for the user to rest the container wherever the please, to enjoy meal time anywhere.
The company’s slogan is “Sandwiches on the go, for people on the go”. This is because the sandwiches can be delivered to anyone, anywhere. This is a great system for busy business workers, and hungry school kids in need of a healthy lunch.
RESEARCH:
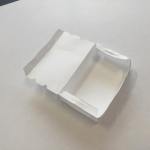
Before beginning on starting the task of creating a sandwich container, I dived in to researching different styles of already excising box designs. Here are some examples of designs that caught my eye.

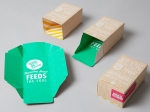
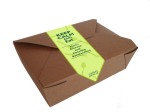
I was very drawn to the “standard box” style of sandwich containers. I think that a box style sandwich container is very convenient, because it is easy to carry around and fit into places. A box style design is easy to eat out of and has a flat bottom that can rest in any location. By creating a simple box design, it is easy for the company to fold together and also creates a flat, one piece net. This simple design looks clean cut and uses minimal material to create, which isn’t as harmful to the environment. After research, I was very content on designing a box style sandwich container.
Materials:
If my container design was to be mass produced. I would only use eco friendly materials, so that my product container wouldn’t be harmful to the environment, as well as being fully recyclable.
DEVELOPMENTS:
To begin my task, I created some simple concept pages experimenting with different styled boxes, labels, and materials. Once I had decided on the basic structure of my box I drew up a “final design” page for what I envisioned my complete container design to look like.

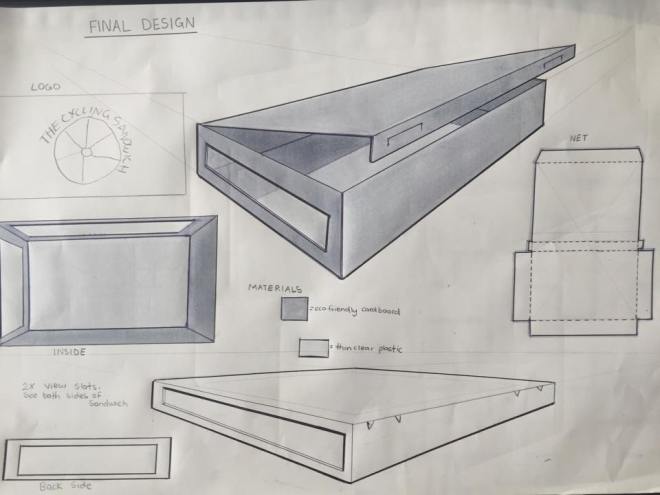
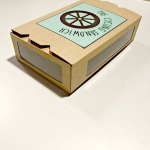
Some important features that I wanted to include were two viewing slots. This is because I wanted the consumer to be able to see that the sandwich was in fact full all the way thru with healthy fillings. The Cycling Sandwich does not cut down on the produce that the sandwich is being filled with.
I wanted the logo to be a simple clean design that can relate to a large target market, (a range of ages, both male and female). I wanted the logo to be eye catching, to draw the buyer to the product. I also wanted the main logo symbol to resemble a bike wheel, as well as including an eco friendly green color to straight off imply that The Cycling Sandwich is clean and green.
Final Photoshop Logo:

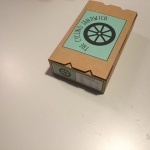
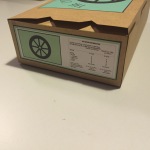
For my final packaging, I also wanted to make sure that I had a space on the side to include the logo symbol and nutritional information, so that buyers can recognise the product when it is stacked sideways on a shelf.
CREATION:
My first steps in the create process was to produce a range of handcrafted sketch nets to give myself an idea of what works, and what doesn’t. I needed to make sure that my box wouldn’t open in the delivery process, or if it is being carried around in day to day life.
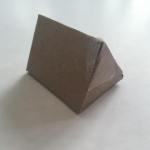

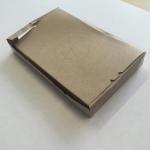

After practicing many test nets and models, of a range of materials, I found that the best fit was still a box design. I wanted to use moderately thick, but still foldable card that will be durable, and not heavy to carry around. I found that paper was to thin and flimsy. I also tried a thin brown card that didn’t seem like it would hold with the weight of the sandwich.
After lots of trial and error, I managed to produce a final hand drawn net, which I noted all measurements for, ready to insert into ‘Solidworks’. ![IMG_7902[1]](https://mollydavy.wordpress.com/wp-content/uploads/2015/03/img_79021.jpg)
I had never used Solidworks before, so i downloaded it at home and practiced, practiced, practiced until i felt confident enough to make my final net, ready to be sent to the laser cutter. I feel very comfortable using Solidworks and I am excited to use it more in the future.
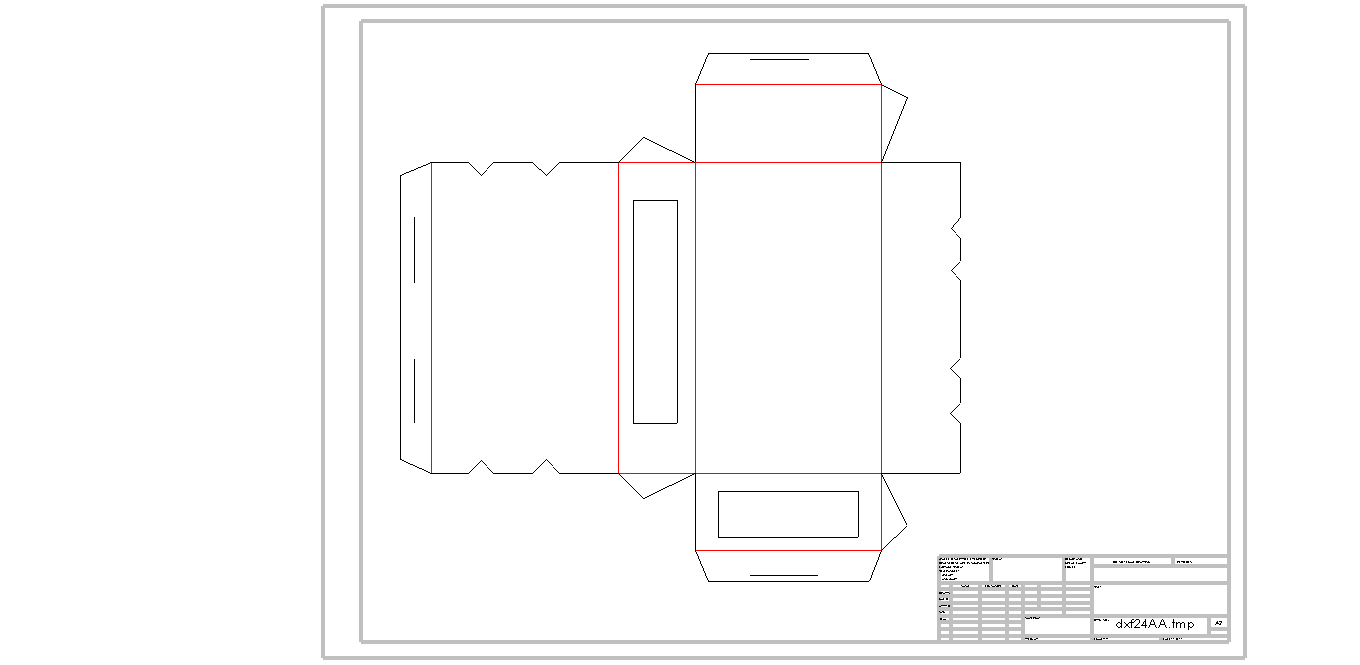
I changed the line colours to shades that coincide with actions of the laser cutter. Black= Cut, Red=score. The score lines are used to easily crease the folds of the container once cut.
Final Solidworks net:
I realised that I had accidentally done some overlapping lines when creating my solidworks net, so when I went up to the laser cutter Glen showed me how to remove them. Next time, if I do this again, I will remove them myself, or just redo the entire net, since I know how to use Solidworks more quickly now.
The first time I got my net cut, the laser cutter was set to a slower setting, so when cutting the creases, it actually cut basically through the card. The next time Glen made the laser cut faster, to make a shallow cut, perfect for a crease line.
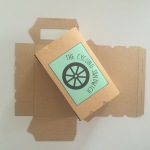
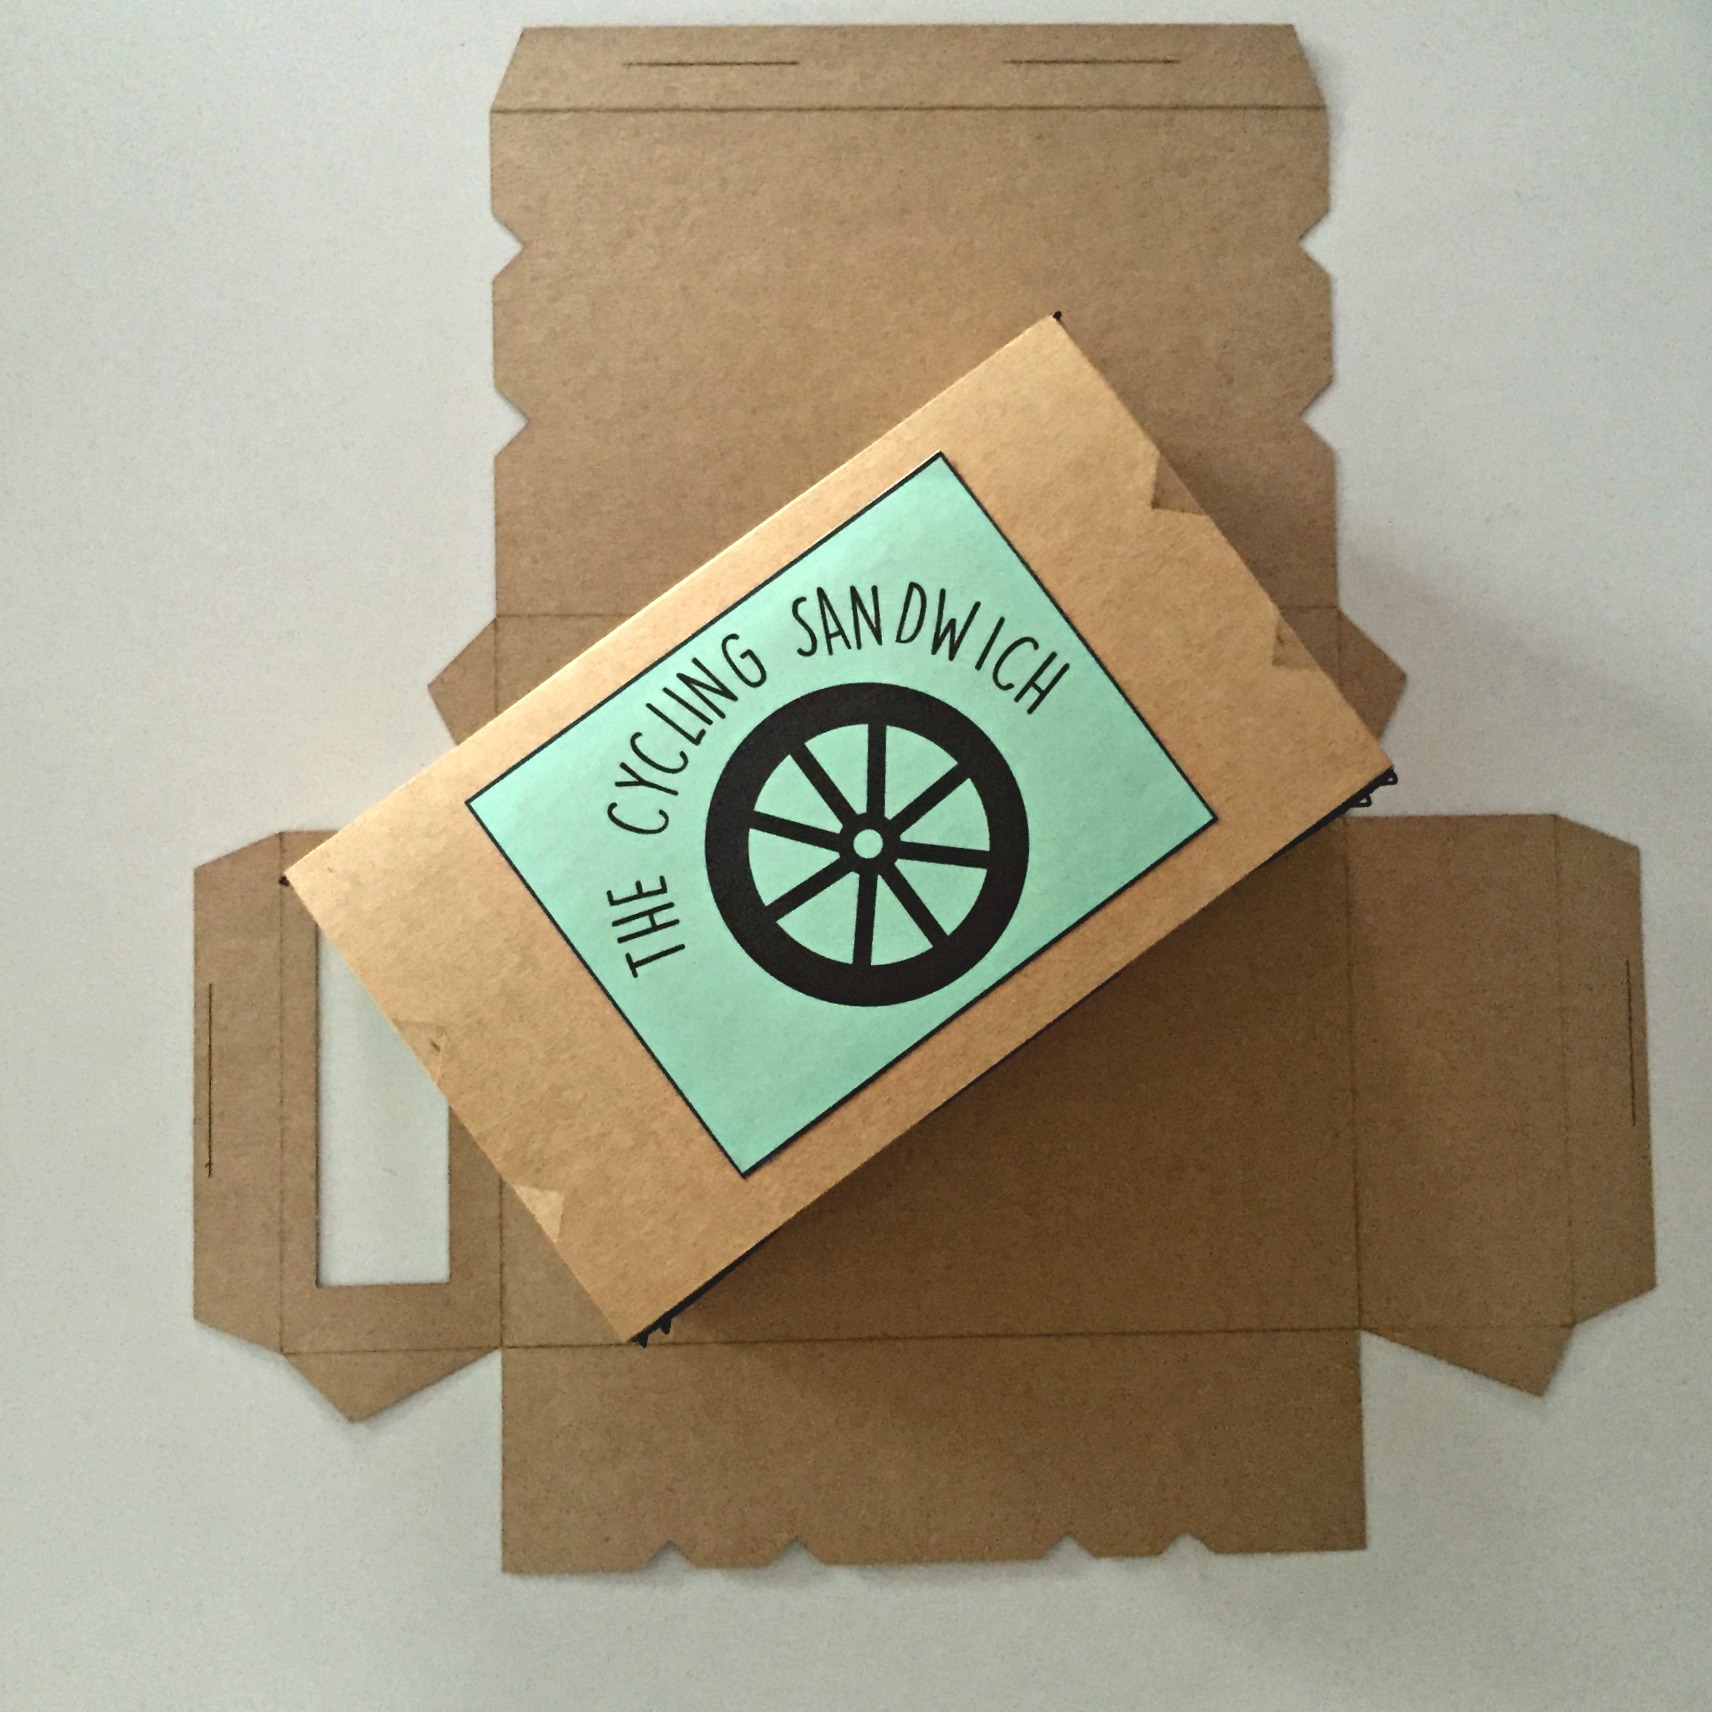
Final Net:
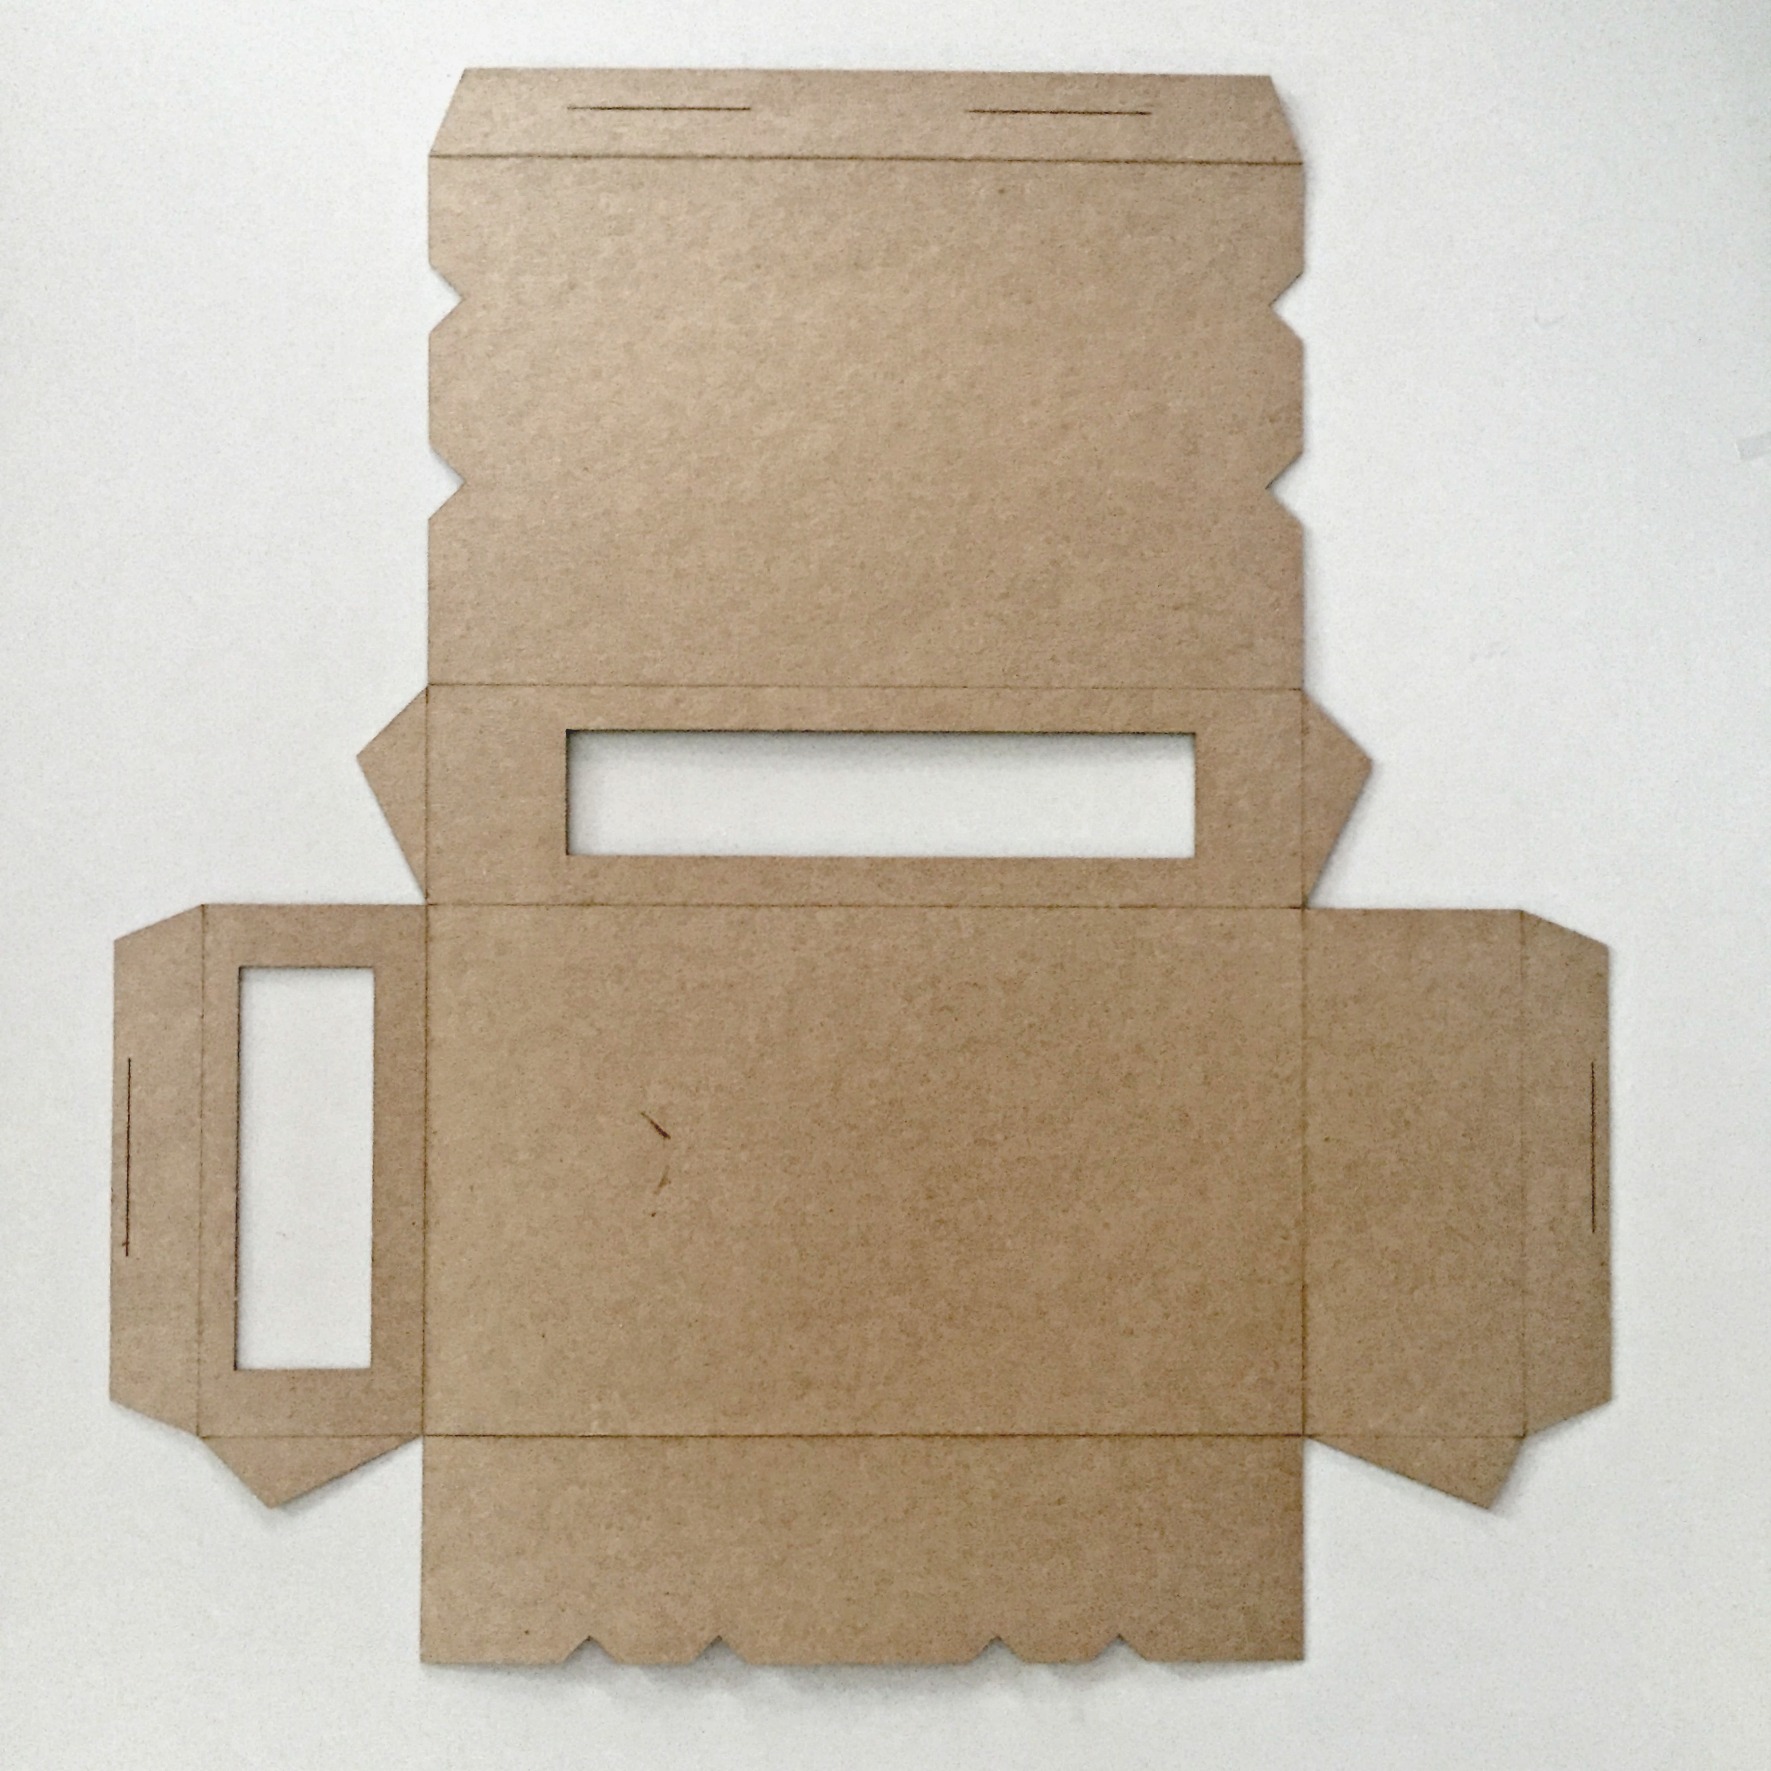
ASSEMBLING:
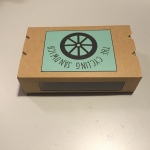
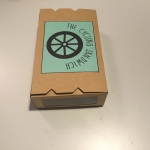
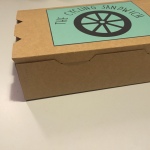
The next steps were to assemble my box net and add the stickers (logo and information).
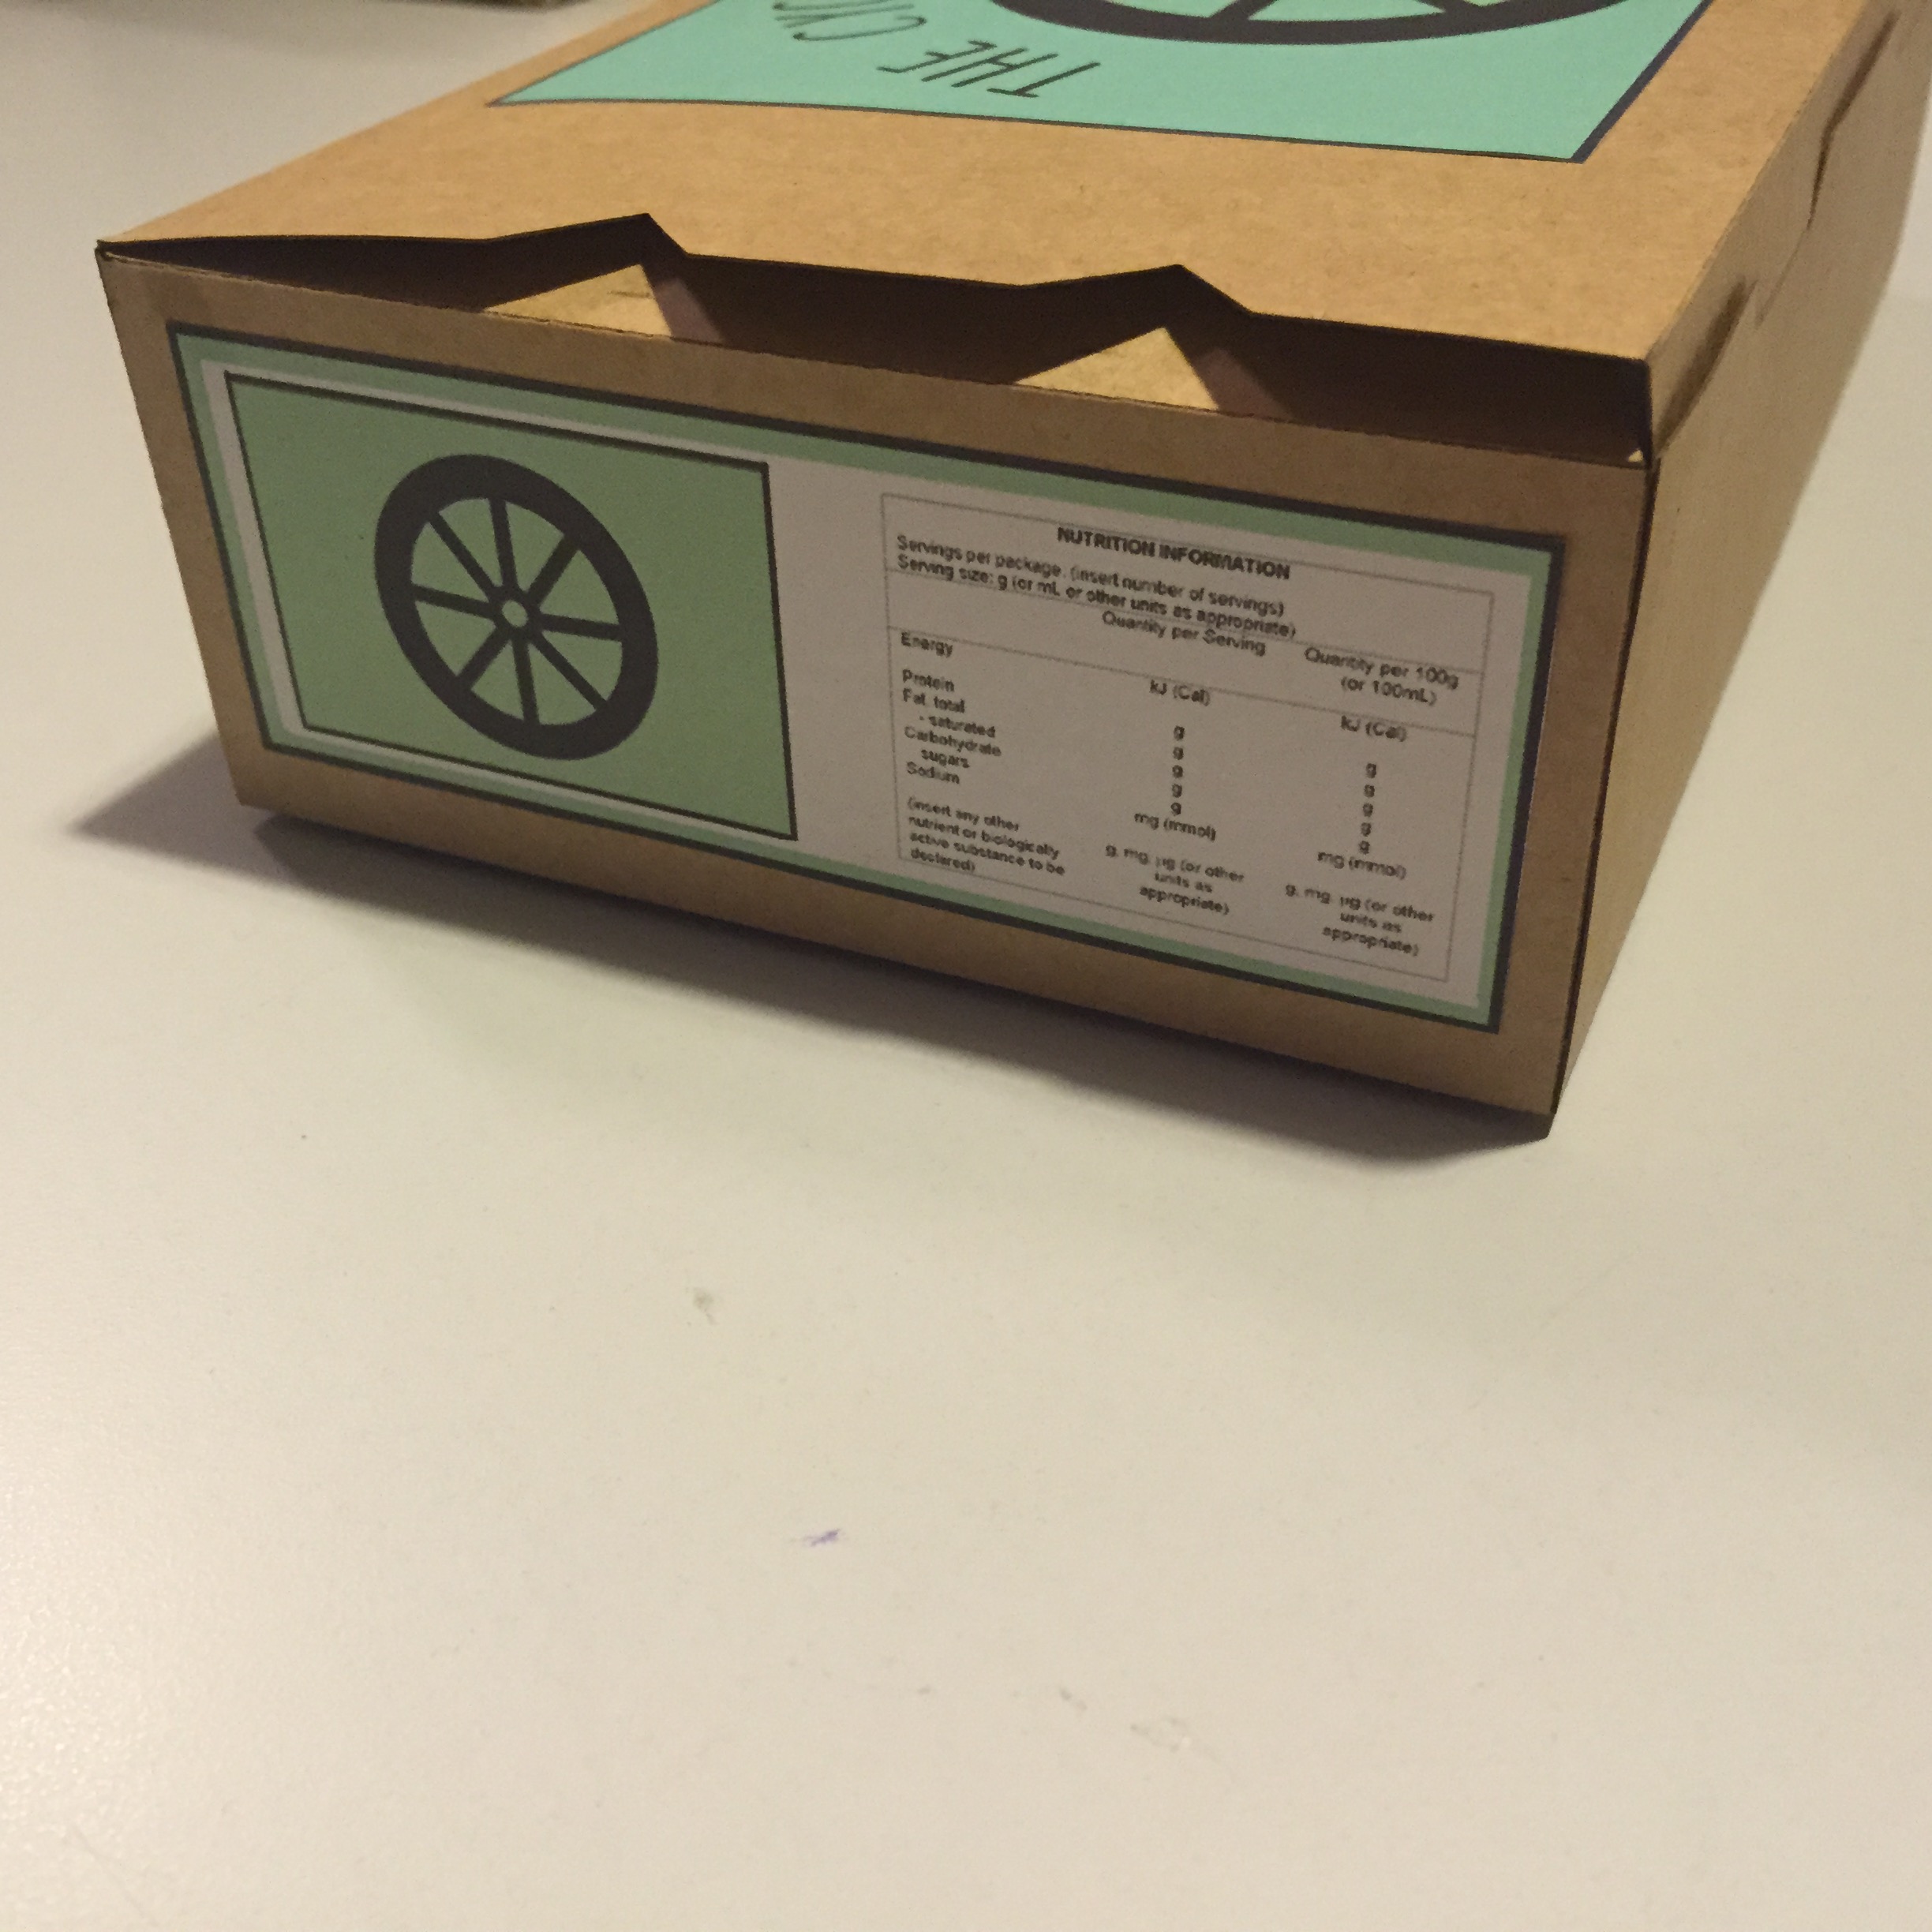
When putting the box together I noticed that I put the top joining slots in the opposite places that they were meant to go.
This was a mistake on my behalf that I now know how to fix for next time. I have learnt from my mistakes. It doesn’t completely affect my container because I added clasps on both the front and the top for extra support, so my box is still able to close. Next time I use Solidworks, I will make sure to be very careful with double checking my design changes.
 The final outcome is exactly how I imagined it. The planning and developing really helped create a well planned net to produce a clean cut design that reflects my companies simple eco style and environmentally friendly values.